Serving your site securely with a Cloudflare tunnel
In my last post on self-hosting I walked through how I connected my little at-home server to Cloudflare in order to serve up this site (and all my others) from my living room.
However, Matt Hodges pointed out that Cloudflare has a service that can create a tunnel to your server, making it so you have no inbound connections over the open internet whatsoever. You can serve a site and keep the ports closed on your router.
I finally set it up and it's relatively simple, but there were a few pitfalls to be aware of.
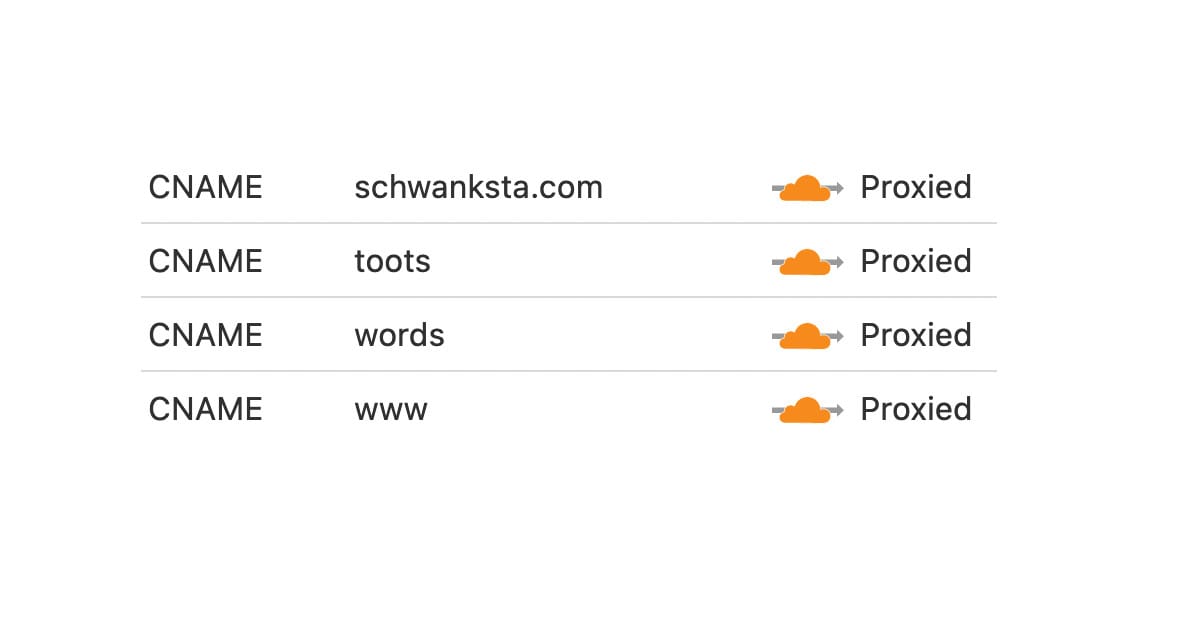
Essentially you create a private tunnel, sort of like a VPN, and give it a name -- and if you're just sending traffic to one computer, you can make a single tunnel and name it whatever you want -- and then replace the DNS records that previously pointed to your IP and point them to the tunnel as a CNAME.
You can get all of this done on the command line with the cloudflared tool, which is the route I went.
First, the instructions for command-line configuration are pretty good, and you should follow them.
However, there were a few things that tripped me up. Your tunnel can take requests to any number of subdomains or routes and send them to different servers. Since I handle all of my routing in nginx, I just needed to send everything to https://localhost and let the web server figure it out. The config file in the documentation didn't quite work for me, so here's what mine ended up looking like:
tunnel: TUNNEL_ID
credentials-file: /home/ken/.cloudflared/TUNNEL_ID.json

ingress:
  - hostname: '*.schwanksta.com'
    service: https://localhost
    originRequest:
      noTLSVerify: true
  - service: http_status:404
The way you'd read this config is that all requests to schwanksta.com or any of its subdomains will pass along to the local web server, in this case nginx. This will work for any subdomain you set up via the Cloudflare DNS admin or by using cloudflared tunnel route dns.
Generally you'd use ingress to set up routing for URLs that need go to different servers or ports, but I needed to set noTLSVerify to true, and I believe the option only works in an ingress block. This is because I have ssl certificates from certbot, and cloudflared was complaining that the certificates didn't match localhost. Turns out you can just tell Cloudflare to ignore that.
The most obnoxious thing I ran into, however, was in turning cloudflared into a service so that it starts automatically and runs in the background.
When you're setting up the tunnel, the documentation tells you to put your config at ~/.cloudflared/config.yml. When you set cloudflared up as a service though, it reads from /etc/cloudflared/config.yml. The really confusing thing is that it copies your config over there first, so I kept making changes to the version in my home folder and could not figure out why it didn't reflect my edits.
The way I handled it was deleting the file in /etc and instead used a symlink from my home folder: sudo ln -s ~/.cloudflared/config.yml /etc/cloudflared/config.yml. That way I can keep editing the file in my home folder and it will reflect in the service's config.
And that's really it. I turned off port 80 and 443 on my router, sealing off access from the wider internet. If you can still read this then it worked, and Cloudflare is securely fetching this file via the private tunnel.
Cheers,
Ken